There’s nothing like relaxing around a warm, crackling campfire on a cool evening. In fact, roasting marshmallows over a campfire is what my kids look forward to the most on our camping trips. Campfires should be simple — all that’s required is oxygen, heat and a fuel source to get them churning. But factor in sappy wood or a sealed firepit and it can quickly add frustration to a camping trip. We have started many fires over the years — most of them were intentional — and would like to share seven steps to a great fire.
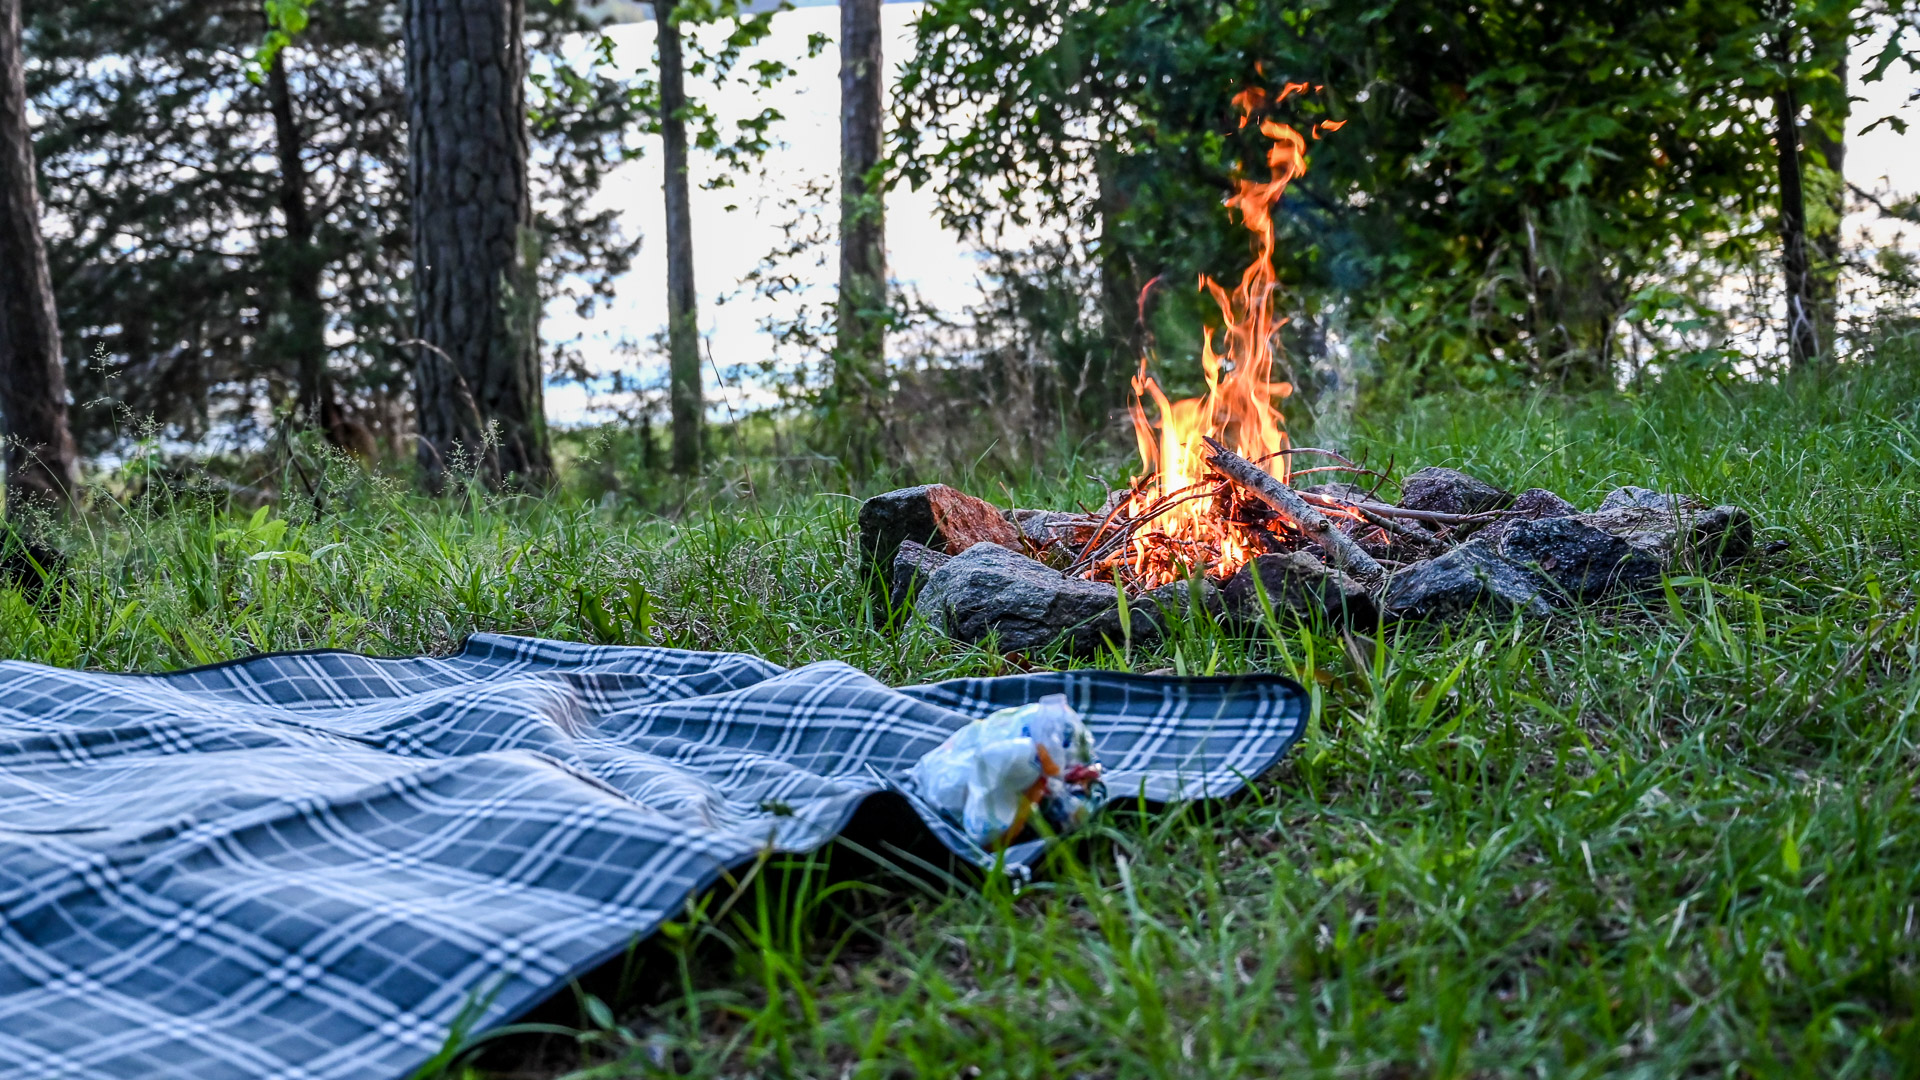
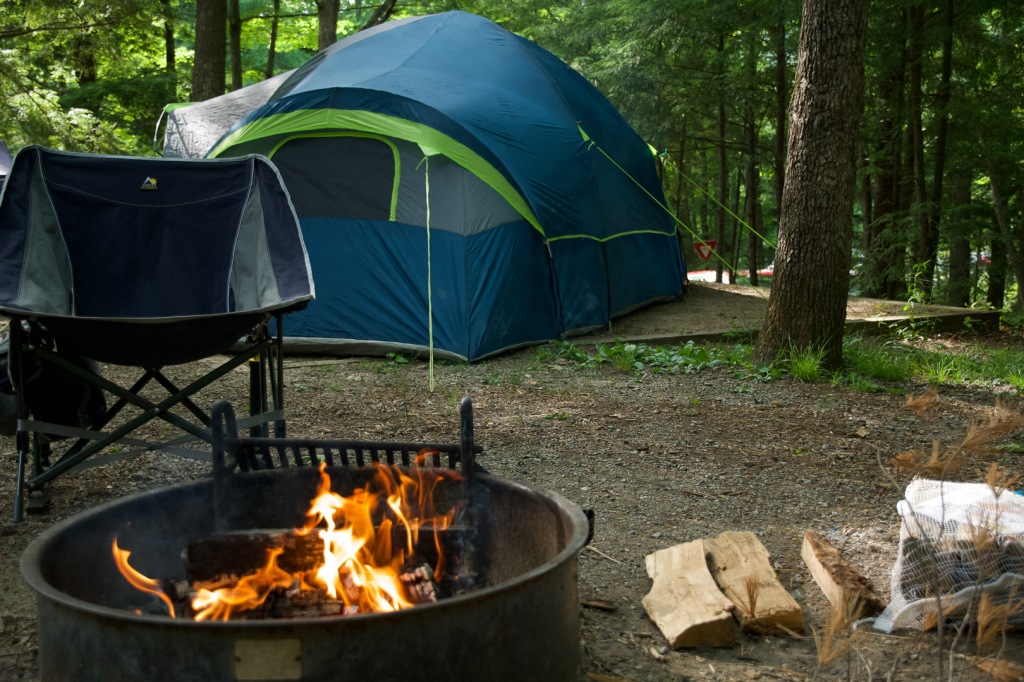
Locate a fire ring
The first step in building a fire in the woods is locating the fire ring. Most designated campsites have one, but occasionally in the backcountry we have to make our own. Fire rings are designed to contain a campfire and keep it from spreading should the fire get too big. However, due to frequent use, many campsite fire rings get sealed with dirt that prevents airflow. Begin by digging a couple of small holes under the fire ring to allow air to flow into the fire after lighting the wood.
Gather materials
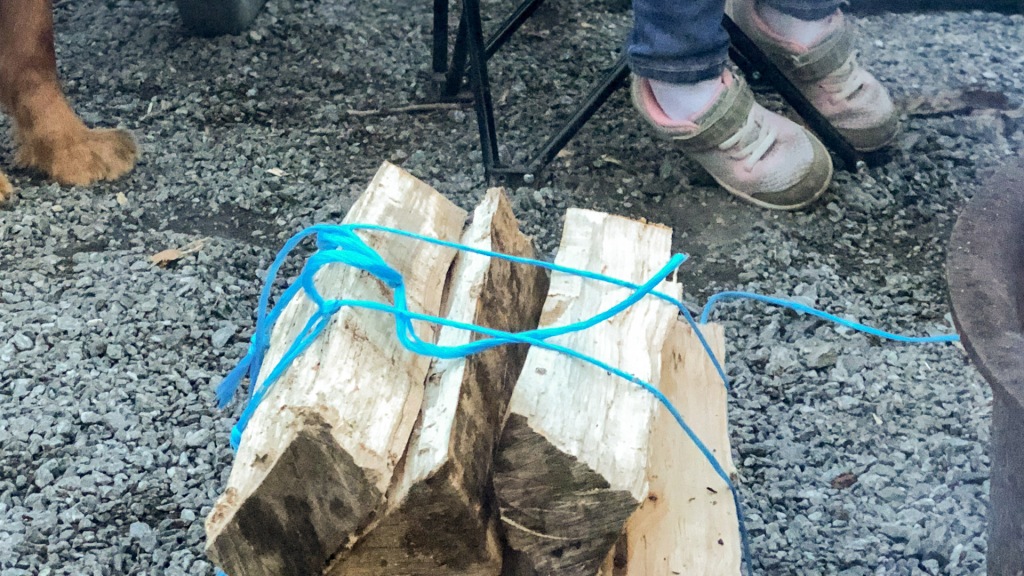
A fire needs wood in several different sizes to successfully burn. The second step is gathering your fire materials. Tinder is the smallest material; it’s used to collect the spark from a fire starter or match and should easily burn. Materials that make good tinder can include cotton balls and Vaseline, paper, dryer lint, wood shavings or tree bark. Kindling is the next size up in wood to gather and should be only a little larger than the tinder. Usually twigs or branches that are less than an inch or two long work well. Finally, gather the firewood. If you are taking wood off the ground, make sure the tree is dead and not wet. We usually split the logs we buy at the campsite in half so they burn more easily and we don’t have to mess with the fire as much.
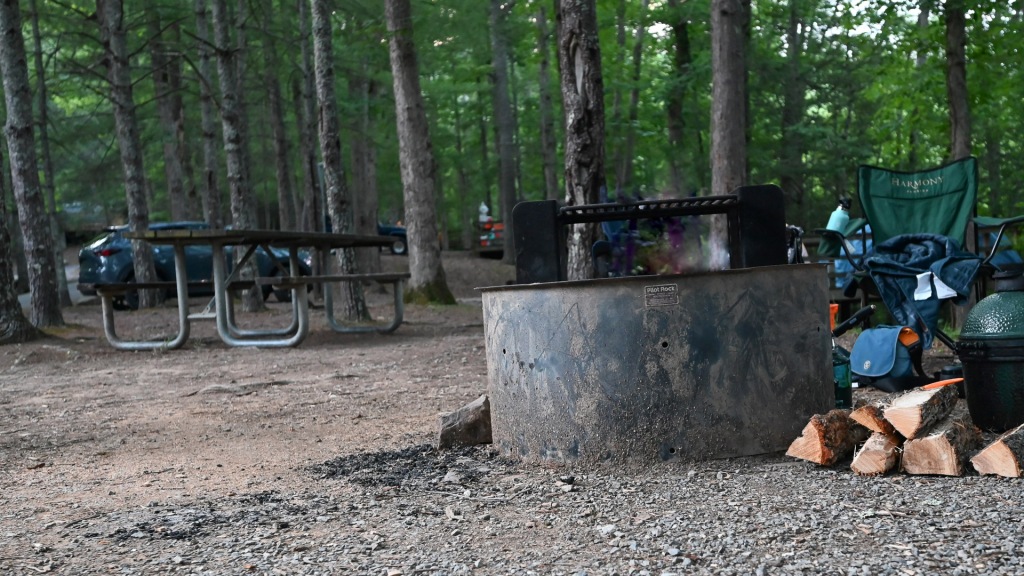
Sort your wood
Next, begin by sorting the wood you gathered into sizes. You should have one or two cotton balls with Vaseline or about an inch of tinder. Next, gather and stack enough kindling to make a fist-size pile. Finally, decide how many logs of firewood you will need. We usually burn through about eight logs 4 to 6 inches in diameter in about three to four hours. Also, if you plan on cooking over the fire, many times you will need the logs to burn down into coals before placing a cast iron over the heat. This is best accomplished using smaller-sized logs. (We just cut ours in half.)
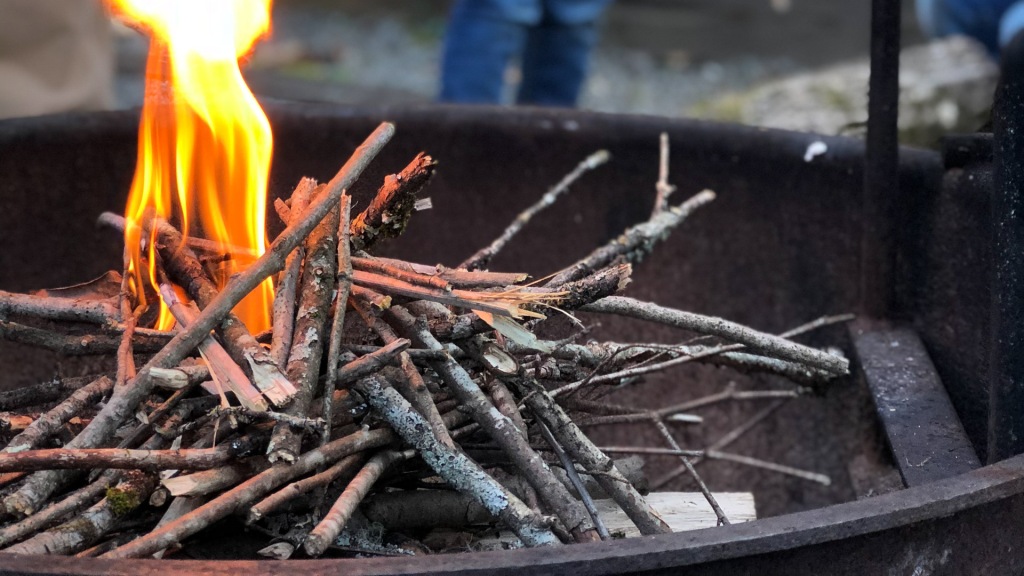
Build your fire
The step most campers disagree on is how to build the fire. You can be as fancy or plain as you want. The most popular types of fire designs are the star, lean-to, log cabin, teepee, cone and pyramid. My family likes simplicity, and our tried-and-true method is a variation of the upside-down fire, but even my husband and I vary our methods. We both take two logs of firewood and place them parallel on the ground, leaving enough room for air to get through while still holding the kindling. Next, we take the tinder and surround it with about a fistful of kindling and place the pile on the two parallel logs of firewood. As the kindling burns down, I add smaller pieces of firewood on top of the kindling while keeping the flame going. I continue to add larger logs of firewood as the wood heats. My husband likes to surround the kindling with gradually larger logs of firewood stacked perpendicular in layers (usually three logs by three logs), which is the more traditional way of building the upside-down fire.

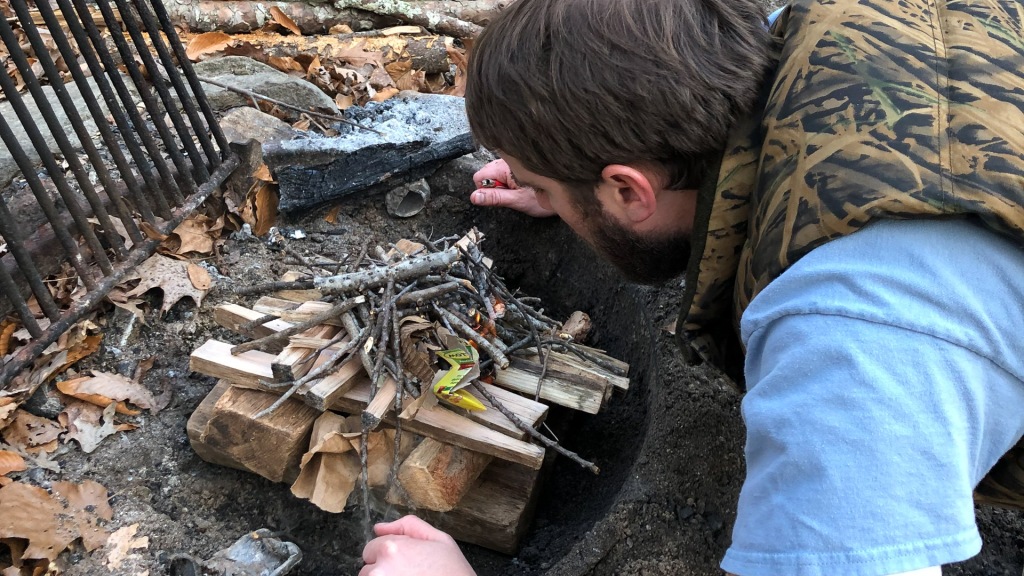
Light the fire
My son’s favorite step in starting a fire is lighting it. Since we stack our kindling around the tinder, it’s easy to light with a match or lighter. However, for a real challenge, we started using a ferrocerium rod fire starter and magnesium strips to get the fire going. Striking the rod with the steel provided creates a spark, but the challenge is directing the spark toward the tinder (and the magnesium strips). When the strips do ignite, it looks like a small firework, and the satisfaction is totally worth the wait when you light the fire without using matches.
Maintain the fire
Many novice campers can light the tinder and kindling but have difficulty keeping the fire going. Sometimes this is due to lack of oxygen or airflow in the fire. This can be alleviated by spreading the larger logs apart an inch or so, blowing on the base of the fire or not forgetting step one (making room for air to flow under the fire ring). Another common mistake is adding large logs too quickly. Remember, start small and go big. If the fire keeps going out, the wood may be too large or could be wet or green.
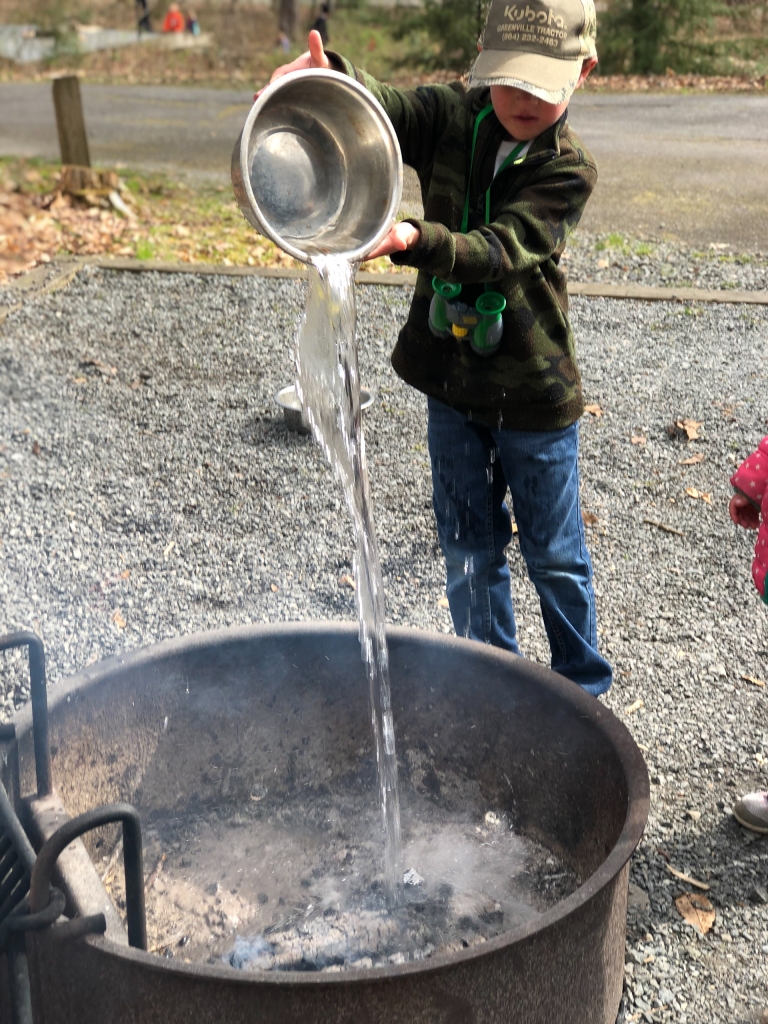
Extinguish the fire
Finally, the most important step in building a fire is extinguishing it before leaving camp. The coals of the fire should be cool to the touch before leaving it unattended. With the right elements, even warm coals can ignite and spark a wildfire.